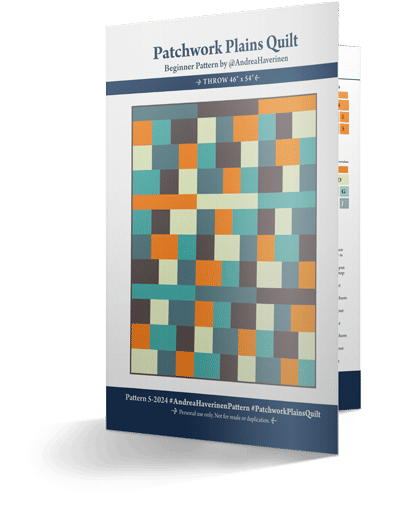
Get the FREE Patchwork Plains Quilt Pattern!
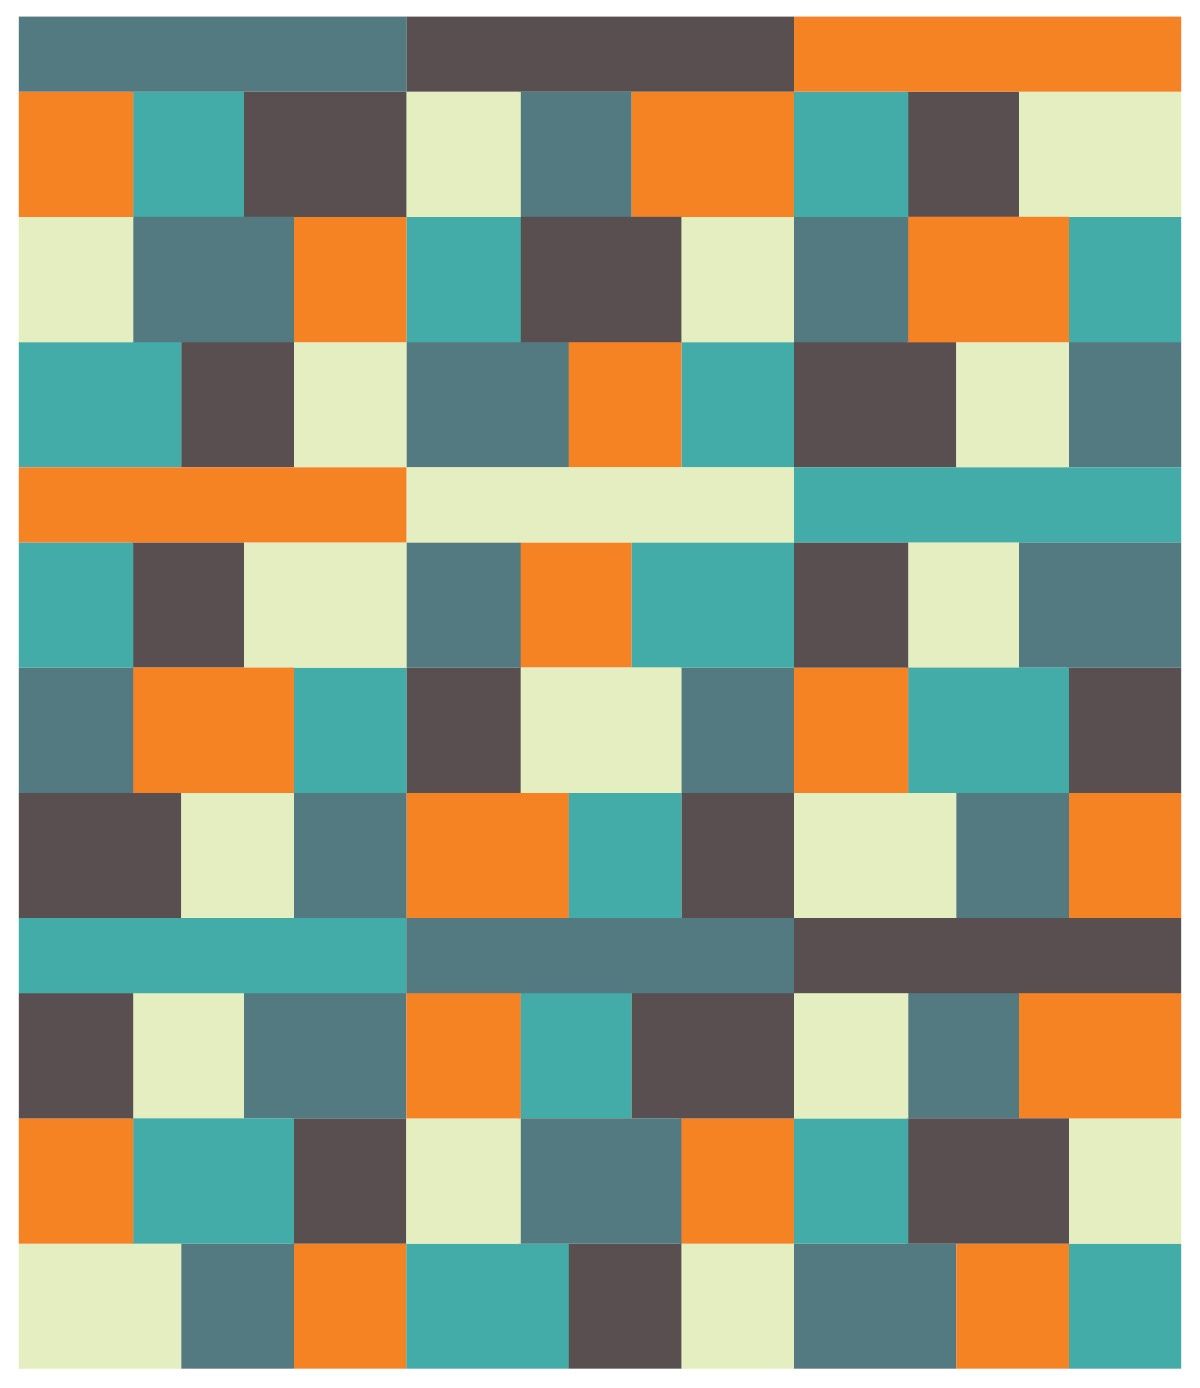
A simple, beautiful design you can make with any fabric you love. Sign up below to grab your free PDF and start stitching today!
To close this form without filling it out - click the purple X in the upper right corner of the window. You're welcome.
We ♥ privacy.