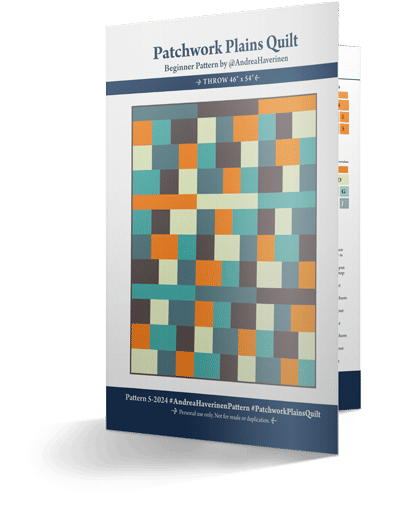
Get the FREE Patchwork Plains Quilt Pattern!

A simple, beautiful design you can make with any fabric you love. Sign up below to grab your free PDF and start stitching today!

To close this form without filling it out - click the purple X in the upper right corner of the window. You're welcome.

SUBMIT :)

We ♥ privacy.

  • About Andrea
  • Fabric
  • Blog
  • Contact
Surface Pattern Design

Download the Scrappy Improv Quilt Block PDF

Click the orange button below to download the PDF, or read through the pattern instructions on this page to make your blocks.

Please make sure you get the email message from me. Happy sewing!

Make something? Tag me! I'd love to see what you sew with these blocks.

@AndreaHaverinen
#ScrappyImprovBlocks
DOWNLOAD PDF

Scrappy Improv
Quilt Block Series

SCRAPPY Composed of small bits lacking unity or consistency

IMPROV To create from available fabric with little or no preparation

Basic “Rules” of Scrappy Improv

Choose Color Palette.

Are you going to stick to one color palette, or go totally scrappy? Either way goes with scrap blocks! To minimize the random scrappiness of a block, choose an assortment of fabrics from one color (hue). I like to pick through one color scrap bin and make a few blocks. Then I’ll put that bin away and choose another color bin. Scrappy blocks can have high contrast between the fabrics, or no contrast at all. Your choice.

Choose Final Block Size.

Blocks can be any size. I have a 6” square ruler, so I usually make 6” square blocks. You can make bigger or smaller squares, or try rectangles, triangles or hexies. Keep the block size consistent, and you can create many styles of scrappy blocks. Pile those blocks up as you make them, and when you have enough, make a quilt top. Most instructions for improv scrappy blocks intentionally avoid measurements, as there are an infinite number of block sizes to make.

Trimming Final Block Size.

Keep in mind your seam allowance as you trim to your final block size. Blocks will be easier to work with if you keep at least 1” wide pieces of fabric on the block edges. Small pieces will get lost in the seam allowance when you sew blocks together. But if it happens anyway, oh well.

Anything Goes.

Mess up on a block? Oh well. Add another piece and move on. Cut something too small? Oopsie! Add another strip and move on. Have leftover blocks from another project? Cut them down to the scrappy block size. Add extra strips to make a bigger block. Or, slice them up to make new scrappy blocks.

Scrappy Improv Is Fun.

If you’re not having fun, do something else. This is a time to play, to be creative, and to use up the stash you wouldn’t use in another project. Don’t like a print? Cut it into smaller pieces. Practice with it. Try a new technique.

Wonky Wins.

Improv gives grace to uneven edges and wonky lines. Did your ruler go crooked when you trimmed? Oh well. Sew the next piece onto that angle. Nothing has to line up, and all rules about keeping your points crisp go out the window. The diagrams accompanying the instructions show perfect straight lines, and parallel piecing. If your blocks don’t look quite the same, that’s good! Yours should look different. Photos of actual blocks will show that my angles are often intentionally wonky, sliced at whatever angle pleases me in the moment. Go for it, cut something crooked!

Pressing Seams.

Press seams open or to the side if it pleases you. If pressing a particular direction is important, it is included in the instructions. Still, press whichever way you want!

Make These Scrappy Improv Blocks!

Click on the block photo below to go directly to its instructions

Block 1

Strip Scrappy Improv Block

Block 2

Spiral Scrappy Improv Block

Block 3

Courthouse Steps Scrappy Improv Block

Block 4

Log Cabin Scrappy Improv Block

Block 5

Trip Around the World Scrappy Improv Block

Block 6

Rolling 4-Patch Scrappy Improv Block

PAST ATTENDEES LOVE THESE WORKSHOPS!

"It was really fun! I am excited to get going on a quilt. (First one ever!) It's not so daunting with Andrea's guidance."

JAN

patchwork quilt workshop

FAQ'S

Do I need to bring supplies?

If you have supplies already, bring them clearly labeled with your name on them. If you do not have supplies, come with an open mind and excited heart! I have enough to share.

Do I need a sewing machine?

No, you do not need to bring a sewing machine. Please let me know if you will or will not be bringing your own machine so I have space for everyone.

I've never quilted before. Is that OK?

I will be teaching the basics. You do not need to know how to sew, how to select fabrics, or how to use the tools before you arrive. This is a learning zone for everyone! Even experienced quilters walk away with a new skill.

Can I bring a friend?

Yes! Please bring someone to enjoy the workshop with you! Learning is more fun with a friend.

I love helping people try new creative things. 

And tea. I love trying new tea.
Donate to Andrea's Tea Tin

How I Can Help

I'm a creative at heart. Here's my journey into quilting, quilt supply sales, workshops, and pattern design. My hope is that you have fun here!

Watch for updates on classes, follow me on Instagram, or send a message. I'd love to start a new project with you, and help you finish it! 

Download the Free Pattern

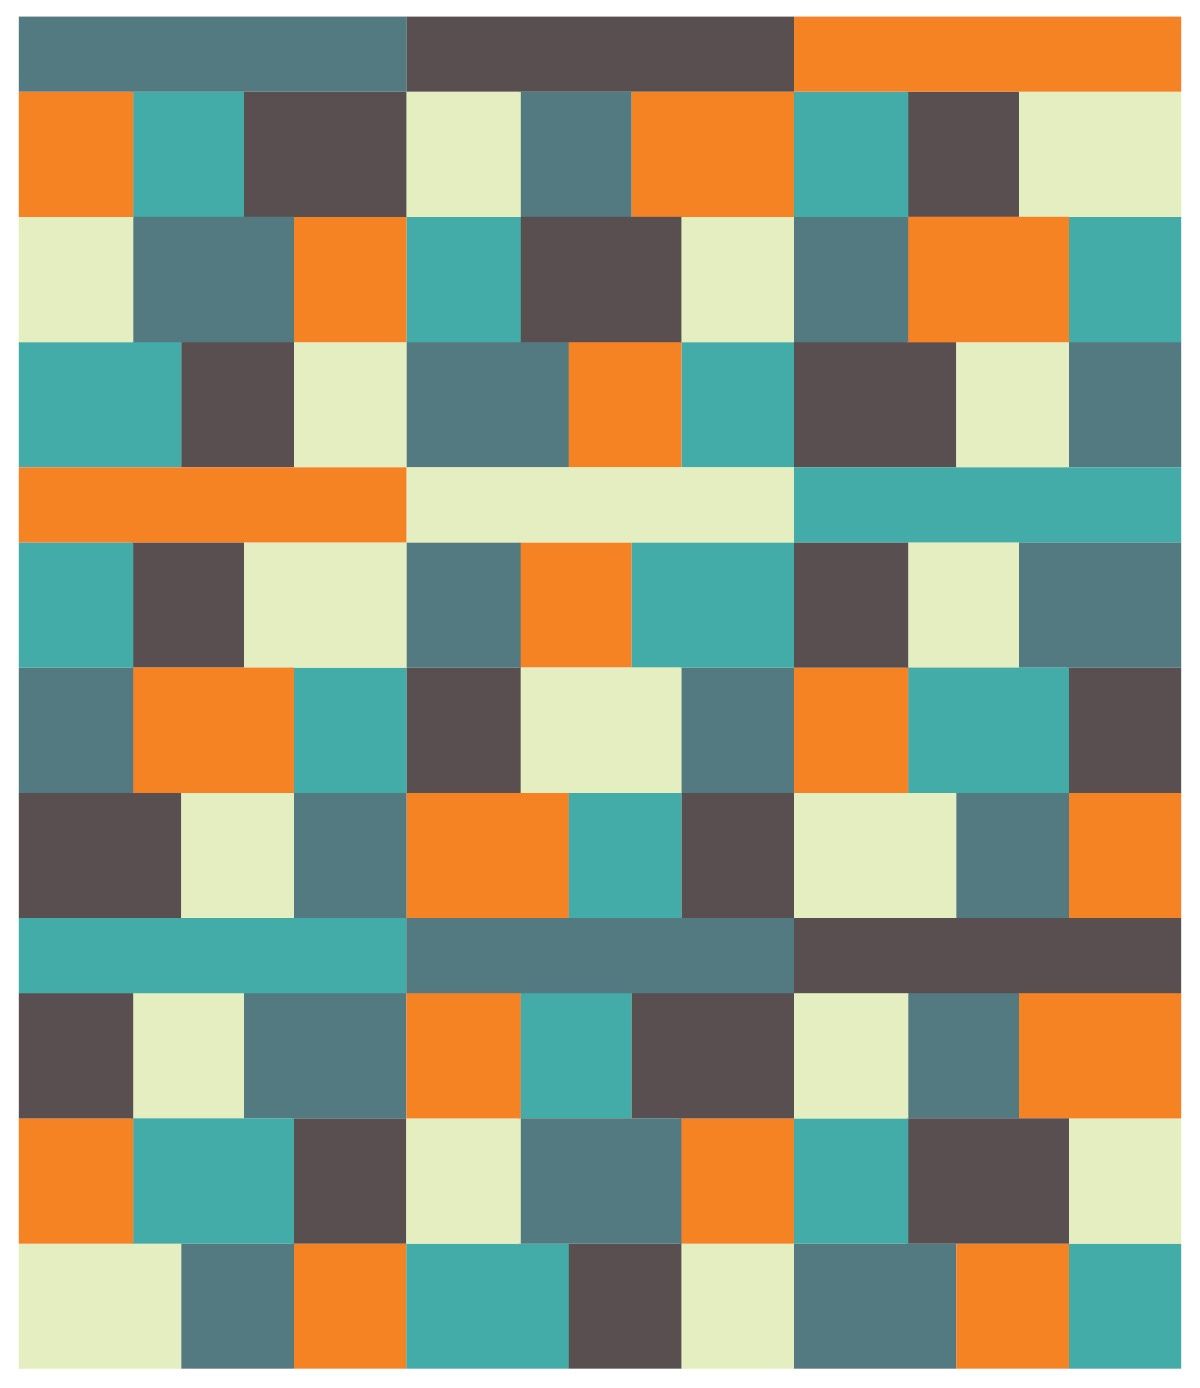
Patchwork Plains is an easy beginner-friendly pattern that can be made with 5 half yard fabrics or 10 fat quarters. This quilt will look like the prairie or fields as viewed from the air — like Patchwork Plains.

Download Now!
Workshops

Sawtooth Star

Patchwork Quilt

Babydoll Quilt

Pillowcase

XL Tote Bag

Explore

Home Page

Blog

Fabric Bundles

Sewing Patterns

Surface Pattern Design

Andrea Haverinen | Menahga, Minnesota